|
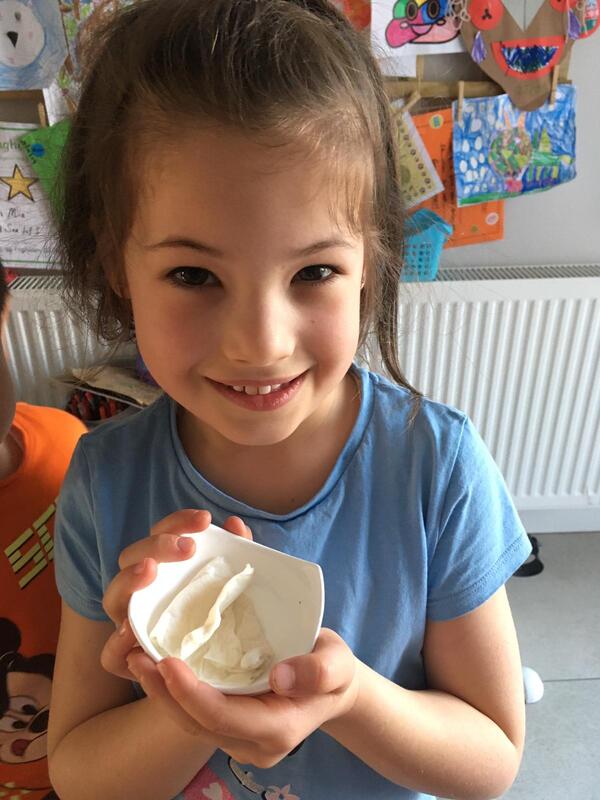
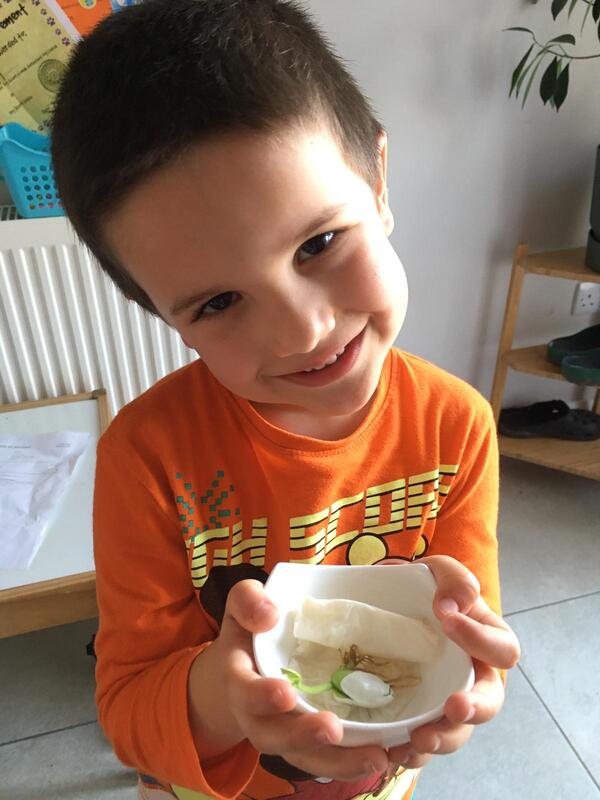
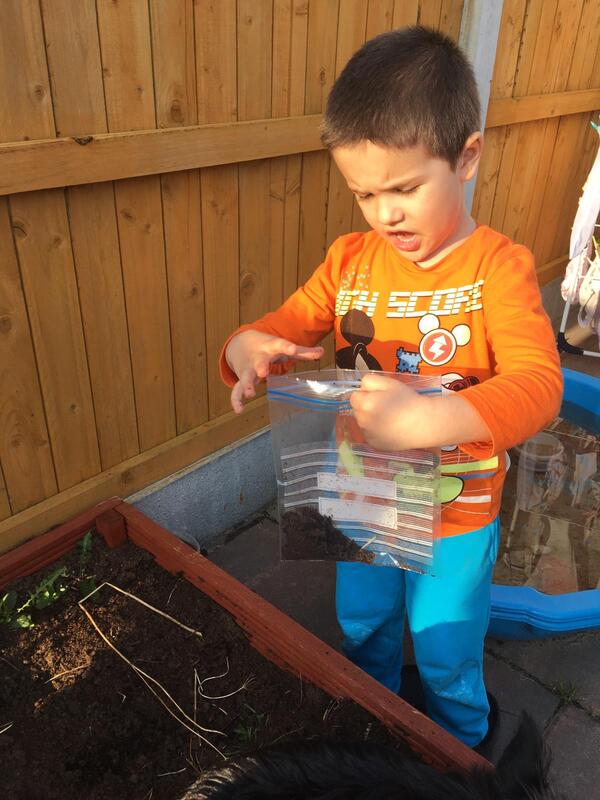
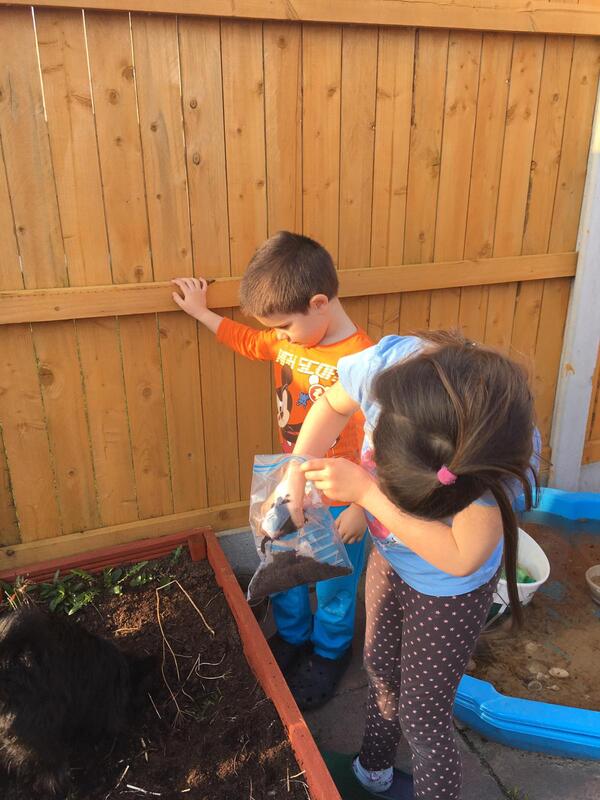
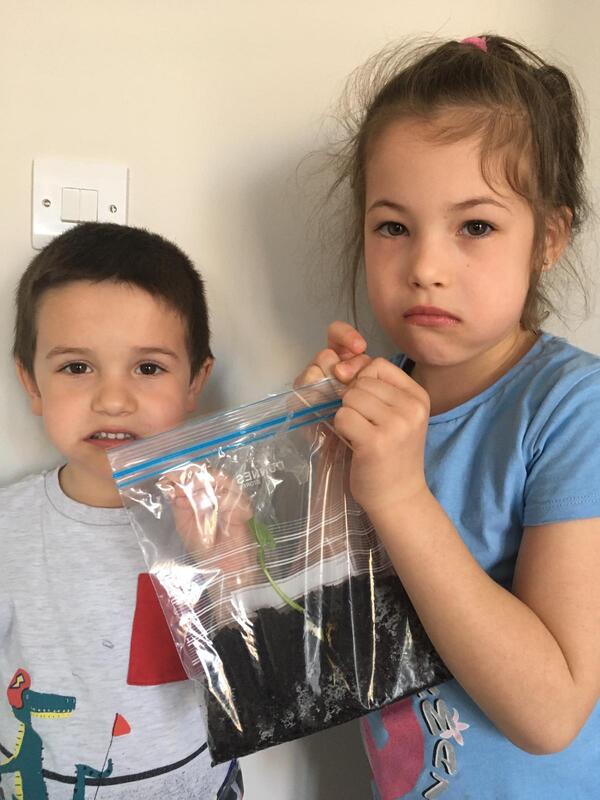
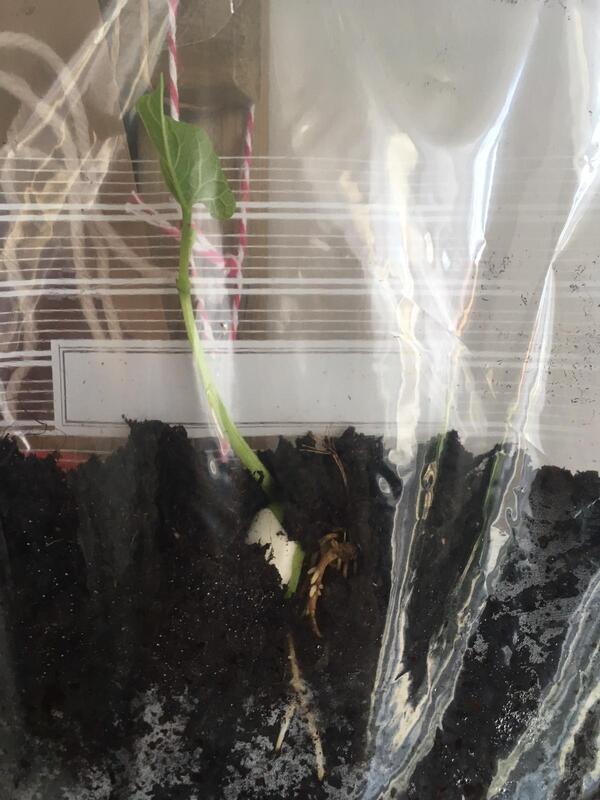
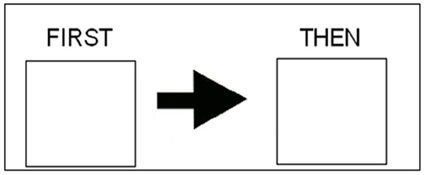
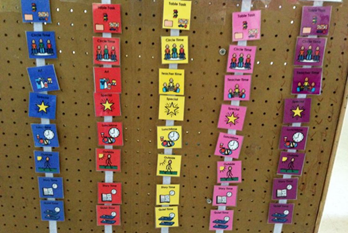
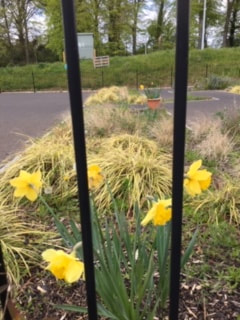
Hello! April is here at last! We hope you're doing well this week and that you got a chance to have a look at some of the online learning platforms we've been sharing. There'll be a learning phase for all of us as we try to make distance learning as effective as possible so please get in touch with any feedback to [email protected] or [email protected]. Growing beansIldi shared a lovely activity she has been doing with her children that is really nice for the current theme: growing beans at home! First: leave the beans in wet tissue for 4-5 days, they can then be transferred to a Ziploc bag. VisualsThe following information may be useful in setting up a home-schooling environment - it relates to the use of visuals. Using visuals will really help to foster the right learning environment. There are three main visuals that we use in school – the daily schedule, the first-then card and the token board. There are other visuals that are used less commonly in our classroom that you might want to consider as well. Some of you may be using visuals at home already. Making visuals requires specific materials such as printers, laminators and Velcro (not to mention a bit of time and effort!) so they may not be something you will have access to but even writing out and drawing a few simple visuals on card may be a useful alternative. For anybody that has access to the resources necessary to make their own visuals, we will be sharing the specific pictures and materials that we use in class. This might help to maintain a bit of consistency. Daily schedule: This is a very valuable visual as it outlines the daily structure and lets your child know what to expect for the day. In class, this visual would have a picture representing all the usual activities during the day (work-snack-playground, etc.) as well as any special events that are going to happen that day (assembly or school trip). Many of the children in our classes want to check the daily schedule first thing every morning. If you are not currently using a daily schedule at home, you may want to make a short version purely for work time. Our daily schedules are arranged vertically, with the first activity represented at the top, the next activity below that one and so on. When children check the schedule, they remove the picture from the schedule and bring it with them to the appropriate area (e.g. they take the picture of “work” to the work table). When they arrive at the correct area, they put the picture on a corresponding visual (The work table has a picture for “work” and a space for the child to attach their picture below it). This may or may not be practical at home but even having a hand-drawn representation of your structure for work can be a great idea! An example is included below (note that these are not the pictures used in your child’s class, the templates we send on will look a little different): First-then: The first-then is very simple: it has space for a picture under the word “First” and space for a picture under “Then”. This is a very useful visual and can be used in a number of ways.
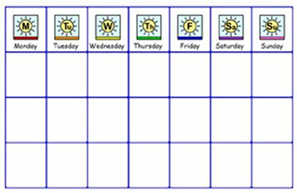
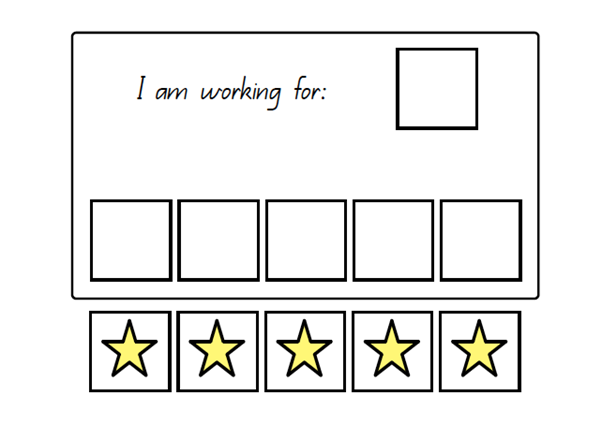
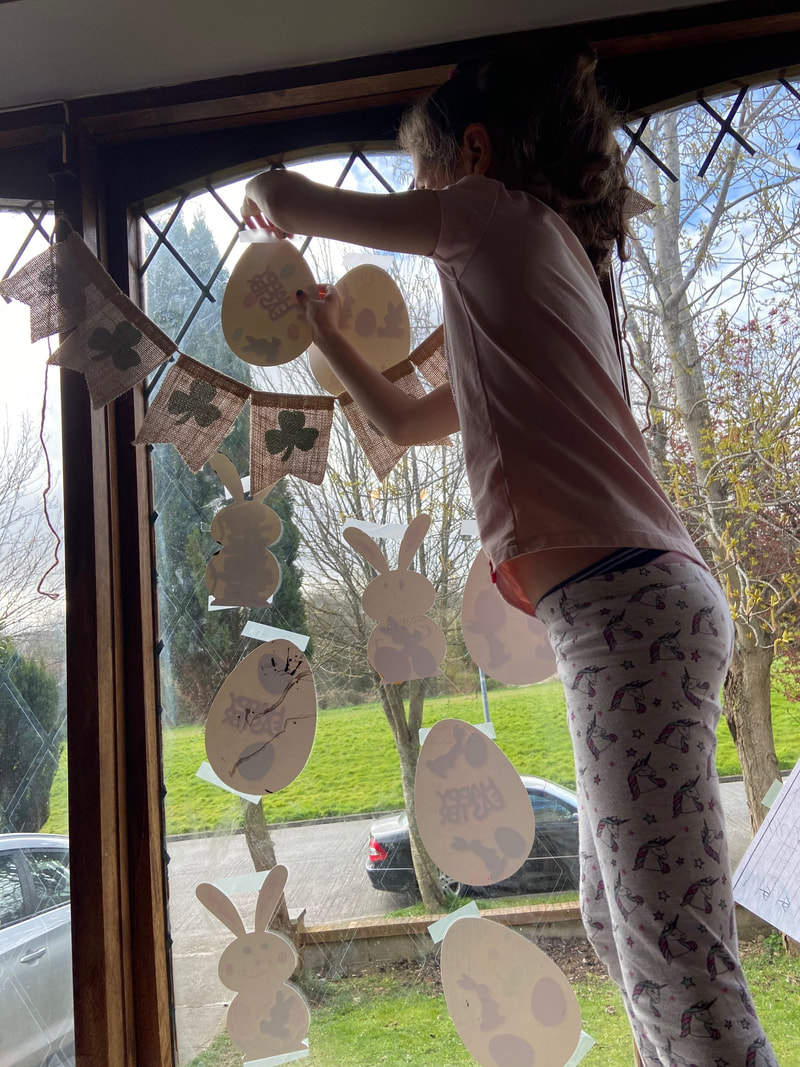
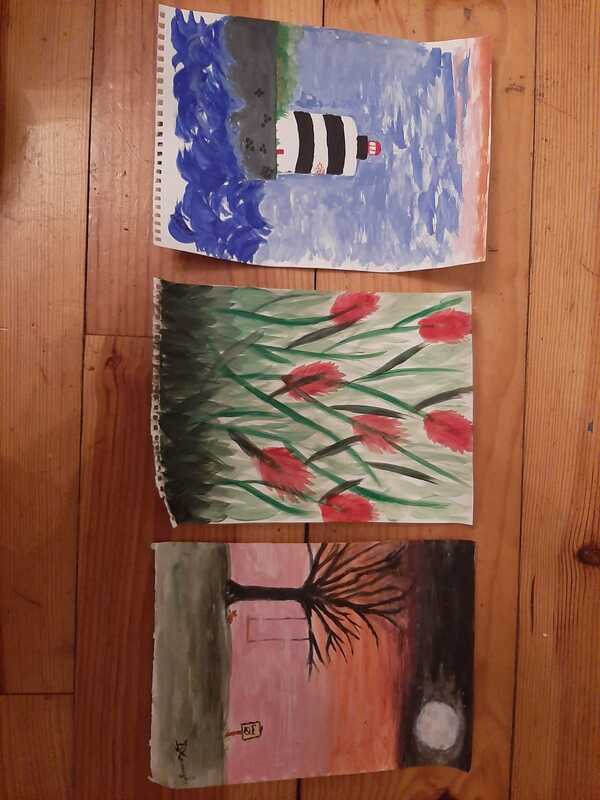
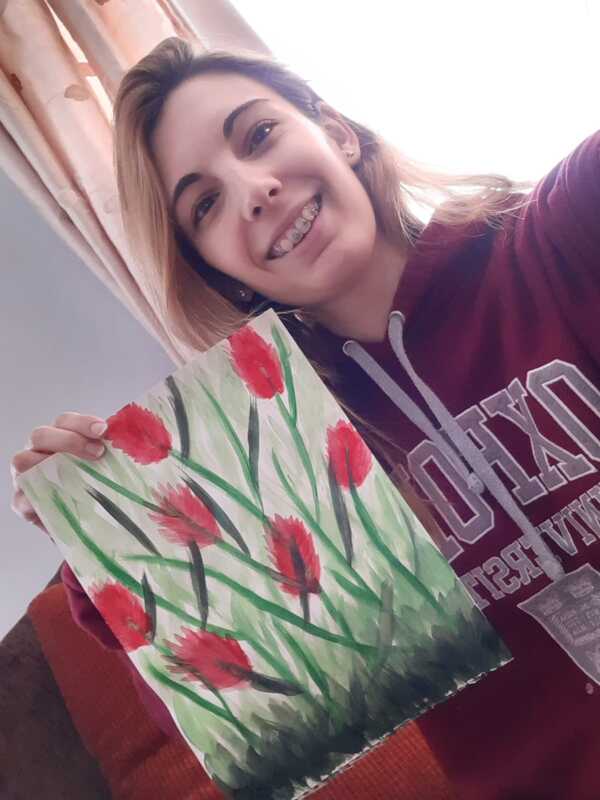
Token board: A token board can be used with children who are motivated to wait a little longer for a reinforcer at the work table. Instead of getting the toy/activity every three to five responses, the child gets a token for every three-five responses instead. When they’ve collected a set number of tokens (usually five) they get access to the chosen activity/toy. This spaces out the amount of work your child is expected to do before getting their reinforcer. A few important things to remember with a token board – once the child has chosen something to work for, they should work for that item. If they change their mind half way through and choose something different, you should keep working for the original choice but let them know they could choose something different next time. Also, you should always finish a token board, so if your child is finding work really tough and you want to finish up, throw in some simple tasks that you know they can respond to so you can give them their remaining tokens and finish on a positive. It’s really important that your child always knows they can expect to get access to their reinforcer if they do their work. Other visuals: There is no end to the types of visuals you could potentially use but whether or not you choose to use them depends largely on whether or not they will be useful for you at home. Here are a few visuals that we use from time to time. There is absolutely no need to make any of these unless you’ll find them useful. Please get in touch if you want to ask whether these might be useful at home: Choice board: These are a fair bit of effort to make as they require you to take pictures of all your child’s preferred items. They are really useful if your child can find it difficult to express a preference but generally in class we find that all our children can clearly express their preferences. What these visuals involve are: individual pictures of all your child’s preferred toys and activities which are attached to the choice board with Velcro. When your child wants to choose something to work for, they remove and exchange the picture of the appropriate item which can then be put on the first-then. A simple example is included below. Weekly schedule: A weekly schedule has a space for an activity for below each day of the week. They can be useful if there is a big activity coming up that your child is really excited about (in Holly and Hawthorn class, everybody is really excited about swimming so we use our weekly schedule to show when it is going to happen). Your schedule might have something like “Monday: home, Tuesday: home, Wednesday: beach, Thursday: home, Friday: home, Saturday: park, Sunday: home”. Or it can have space for multiple activities under each day. No Access: A no access visual can be used to indicate that something is unavailable or can’t be used right now. There are multiple ways to construct No Access visuals. One method is to make a clear plastic pouch or envelope with a red “No Access” symbol on the outside. A picture of the appropriate item can be placed inside, for example: putting the picture of the ipad from a choice board inside the envelope and saying “iPad is unavailable but you can choose something else”. A red “X” can also be placed over a picture of the appropriate item instead. This is not something we use frequently in class but you may find that it is useful at this time when many preferred activities are not going to be available. Home schoolWe love seeing your pictures from home school! Keep them coming! Marta sent us some lovely photos of the painting and baking she has been doing this week! Comments are closed.
|